How to Create Pinterest Pins People Want to Click
Create Pinterest Pins with Profit Pins: start with a product URL, choose a clear visual angle, and refine your headline and destination.
In this guide
A good Pinterest Pin helps the right person recognize an idea worth exploring. The image establishes the subject, the headline explains the benefit, and the destination provides the full answer. You need all three to work together; a striking image cannot rescue a promise the article does not keep.
Use this guide as a practical review process for article Pins. It covers the decisions that make a design easier to understand on a small screen, with examples you can adapt to your niche. The goal is a clear invitation to useful content, rather than a trick for collecting curiosity clicks.
Give each Pin one clear promise
Start with a sentence describing what the reader will find. “A checklist for measuring a compact desk” is specific. “Transform your life with this amazing secret” leaves the subject unclear and creates expectations that most articles cannot meet. If the promise is hard to write, the article may need a more focused angle.
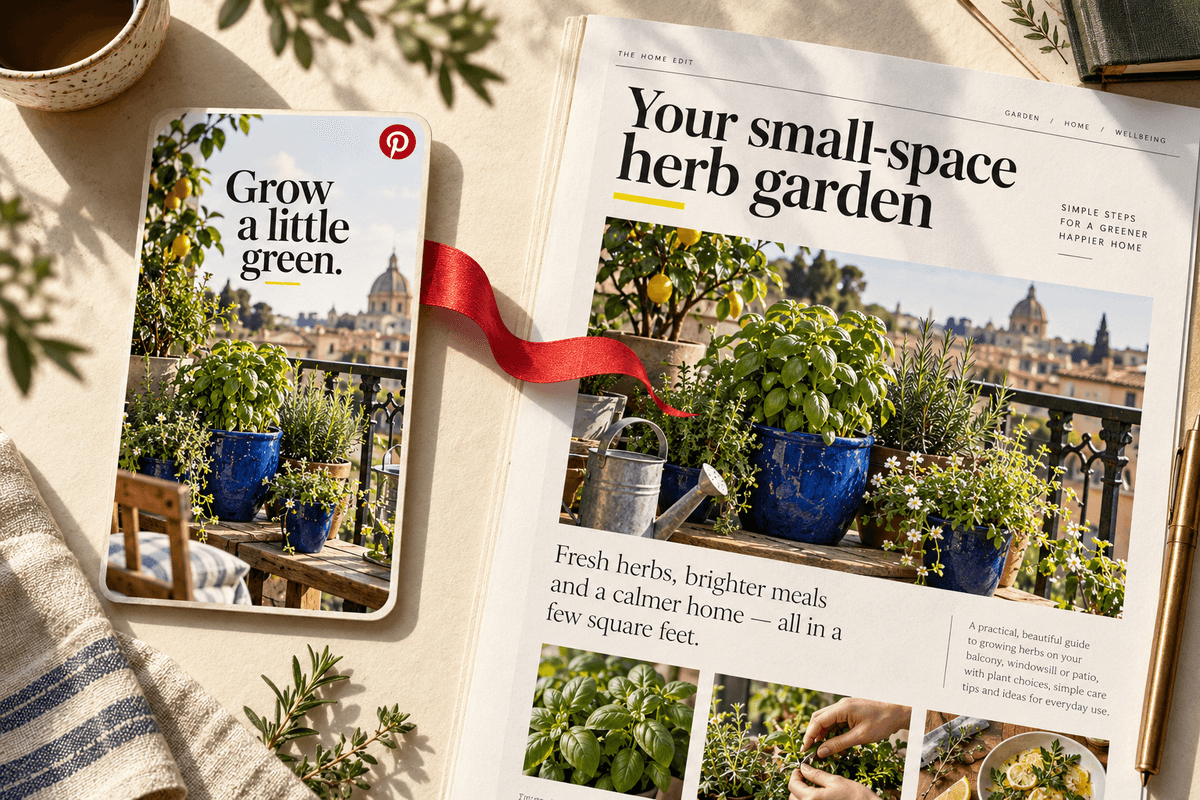
For a guide about balcony herbs, choose one entry point: container size, drainage, or arranging a small space. Do not squeeze every section into one image. A reader scanning quickly should recognize the idea without stopping to decode it. Keep the main topic in the Pin title as well as any text used on the image.
Build for a vertical, mobile view
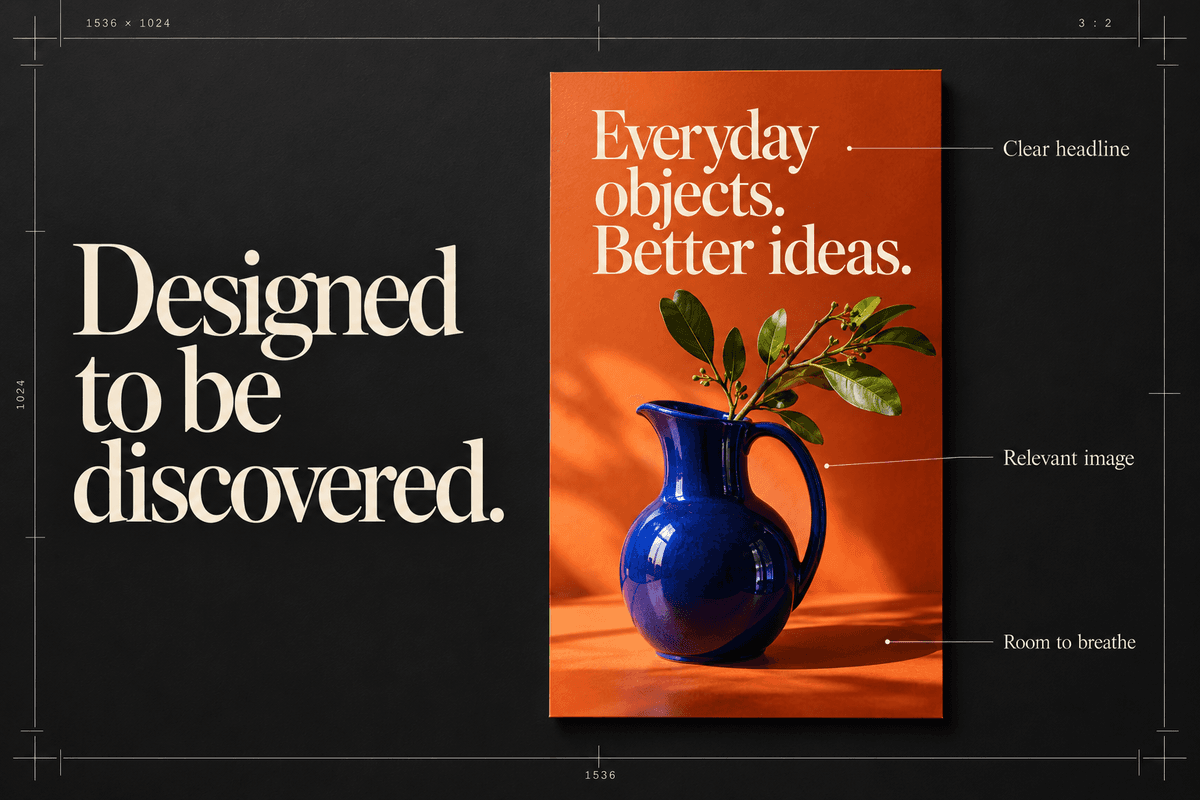
Pinterest’s creator guidance recommends a 2:3 aspect ratio for image Pins, with 1000 by 1500 pixels as an example. Use that as a starting canvas, then preview the result at a much smaller display size. Fine details that look elegant in an editor may become unreadable in a feed.
Leave comfortable space around the headline and important objects. Keep the focal point away from the edge so the design remains understandable in different views. Export a crisp image and check the actual file before publishing. Specifications and supported formats can change, so consult current Pinterest guidance when preparing a new design system or unusual format.
Choose an image that explains the subject
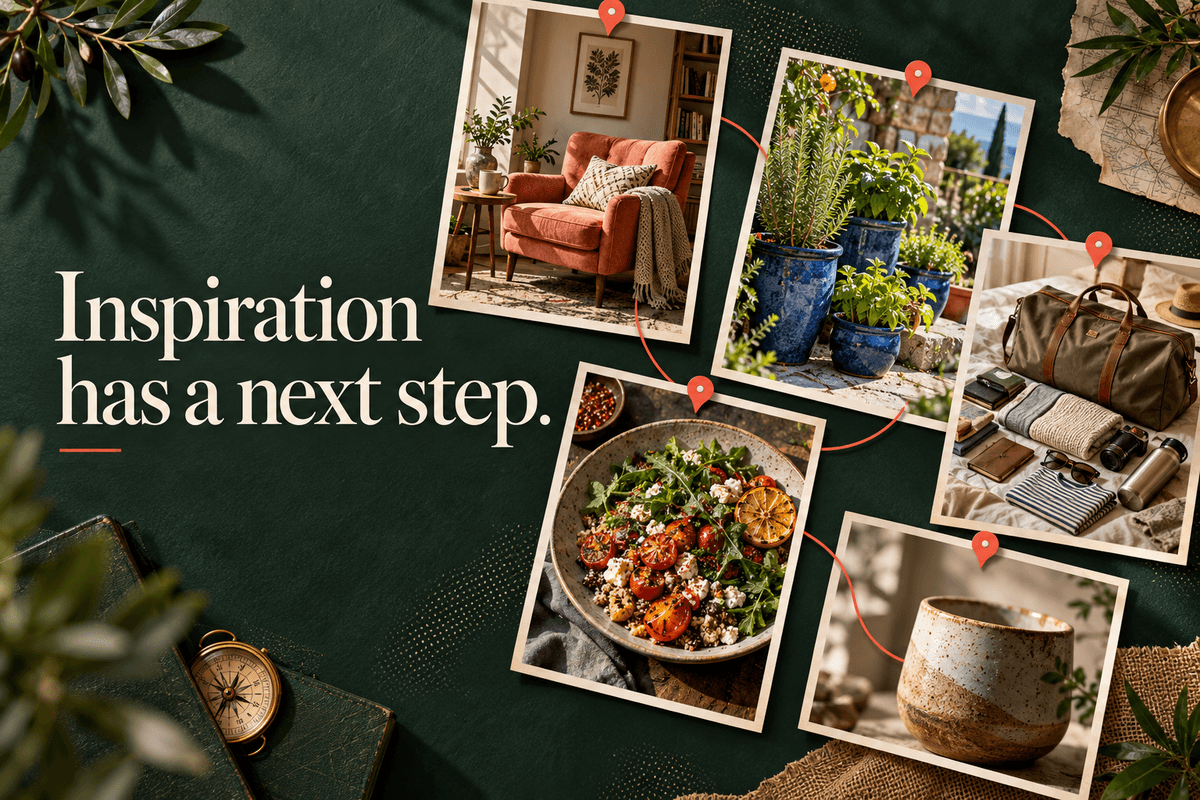
A relevant lifestyle photograph can show a product in a believable setting. A flat lay can explain what belongs in a kit. A simple diagram can make measurements easier to understand. Pick the format that supports the reader’s question rather than adding a photograph just because there is empty space in the layout.
If the guide discusses fitting a desk into a corner, show enough of the room to communicate scale. If it compares materials, use close details with clear labels. Do not imply that an illustrative image documents a product test or personal result. Use original or properly licensed assets and respect any additional conditions attached to merchant-provided images.

Make the headline easy to read at a glance
Use a short headline that names the topic and gives a useful reason to continue. “Small kitchen? Start with this drawer checklist” is more informative than “You need this.” A number can help when the article actually contains that number of distinct ideas, but it is not a substitute for a relevant promise.
Choose legible type and strong contrast between the words and the background. Place text on a calm part of the image or a simple panel. Avoid several competing font styles and decorative effects. Shrink the preview to phone size and read it without zooming. If you struggle, remove words or simplify the composition before increasing the decoration.
Give the design a clear order
Decide what someone should notice first, second, and third. Often that is the main image, a concise headline, and a small publisher mark. A checklist graphic may lead with the headline instead. Either approach works when the relationship is obvious and supporting details do not compete for equal attention.
Use a consistent set of colors and type styles across your blog and Pins so the destination feels familiar. For a cream-and-green brand, a restrained orange accent can draw attention to a small detail without covering the entire canvas. Leave breathing room. Empty space helps the useful parts of the design stand out and makes the image easier to scan.
Continue the same idea in the title and description
The title and description should help someone understand the content in plain language. State the subject, explain what the guide covers, and use relevant words naturally. A Pin for a packing checklist might describe the trip length, the luggage constraint, and the kind of list available on the page.
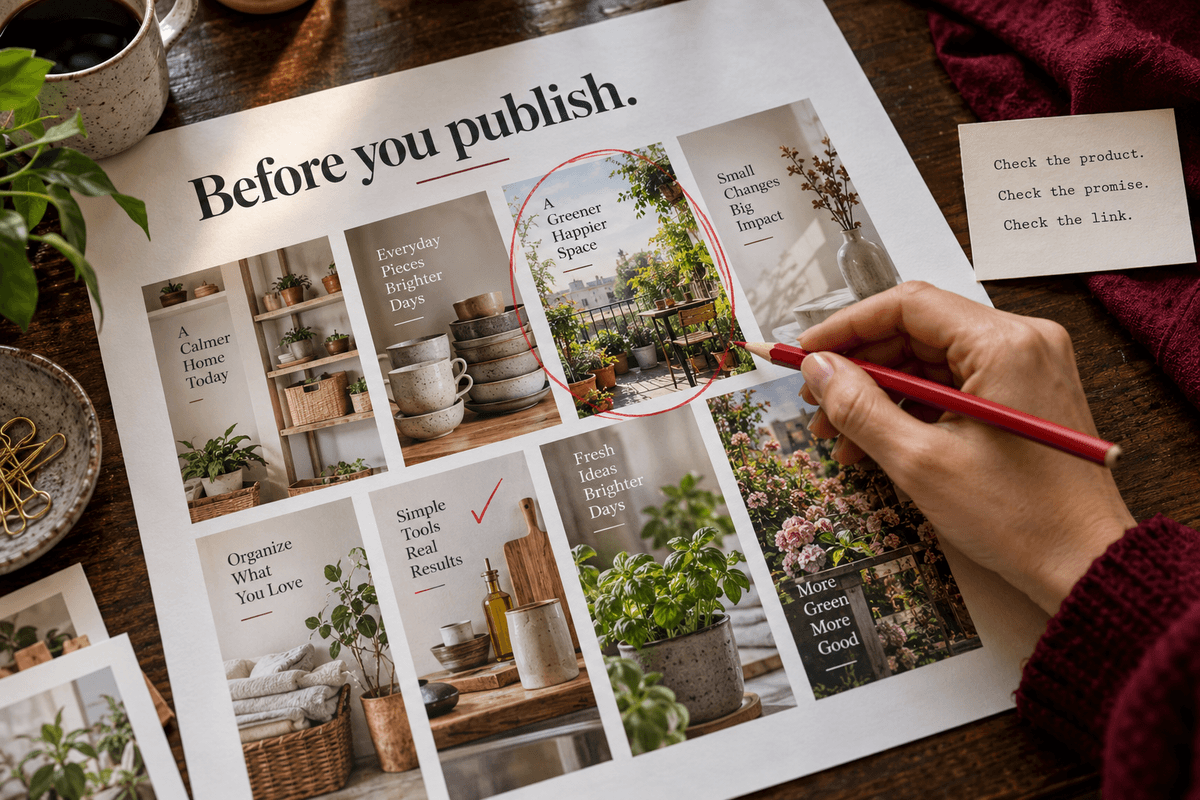
Write useful alternative text that describes the visual for people using assistive technology. Avoid treating it as a place for unrelated keywords. Review the board and destination as part of the same check. If the Pin includes a commercial recommendation or affiliate promotion, make required disclosures clear and follow the platform and program terms.
Test a meaningful difference and keep notes
Make a small set of concepts that introduce genuinely different aspects of the article. You might compare a photographed outcome with a measurement checklist, or a beginner question with a concrete project. Record the topic, design angle, destination, and publication date so you can interpret later results.
Review outbound clicks alongside what visitors do on the destination page. More clicks are not automatically better if readers immediately discover that the promise was misleading. Use repeated observations to refine the message and design. When you find a clear structure, keep it as a starting point, then adapt the details to the next article instead of duplicating it unchanged.
Create and refine your Pinterest designs with Profit Pins
Put these design principles to work in Profit Pins. Paste an Amazon product URL or another supported product page, choose a design, and generate Pinterest-ready Pins. Select a visual direction that suits the subject: a lifestyle setting for a home idea, a product-focused composition for a useful detail, or a clear arrangement for a comparison.
Review each Pinterest Pin at phone size. Edit the headline and description, check the product details, and set the destination before saving. Profit Pins helps you organize your chosen creative and schedule it to Pinterest, so your design review stays connected to the article or eligible affiliate offer you are promoting.
Sources & further reading
Platform features and program rules change. Check these official resources for current details.
Keep exploring: How to Use Pinterest to Drive Traffic to Your Blog
Written by Profit Pins Team